How to create a new project?
Start New Project
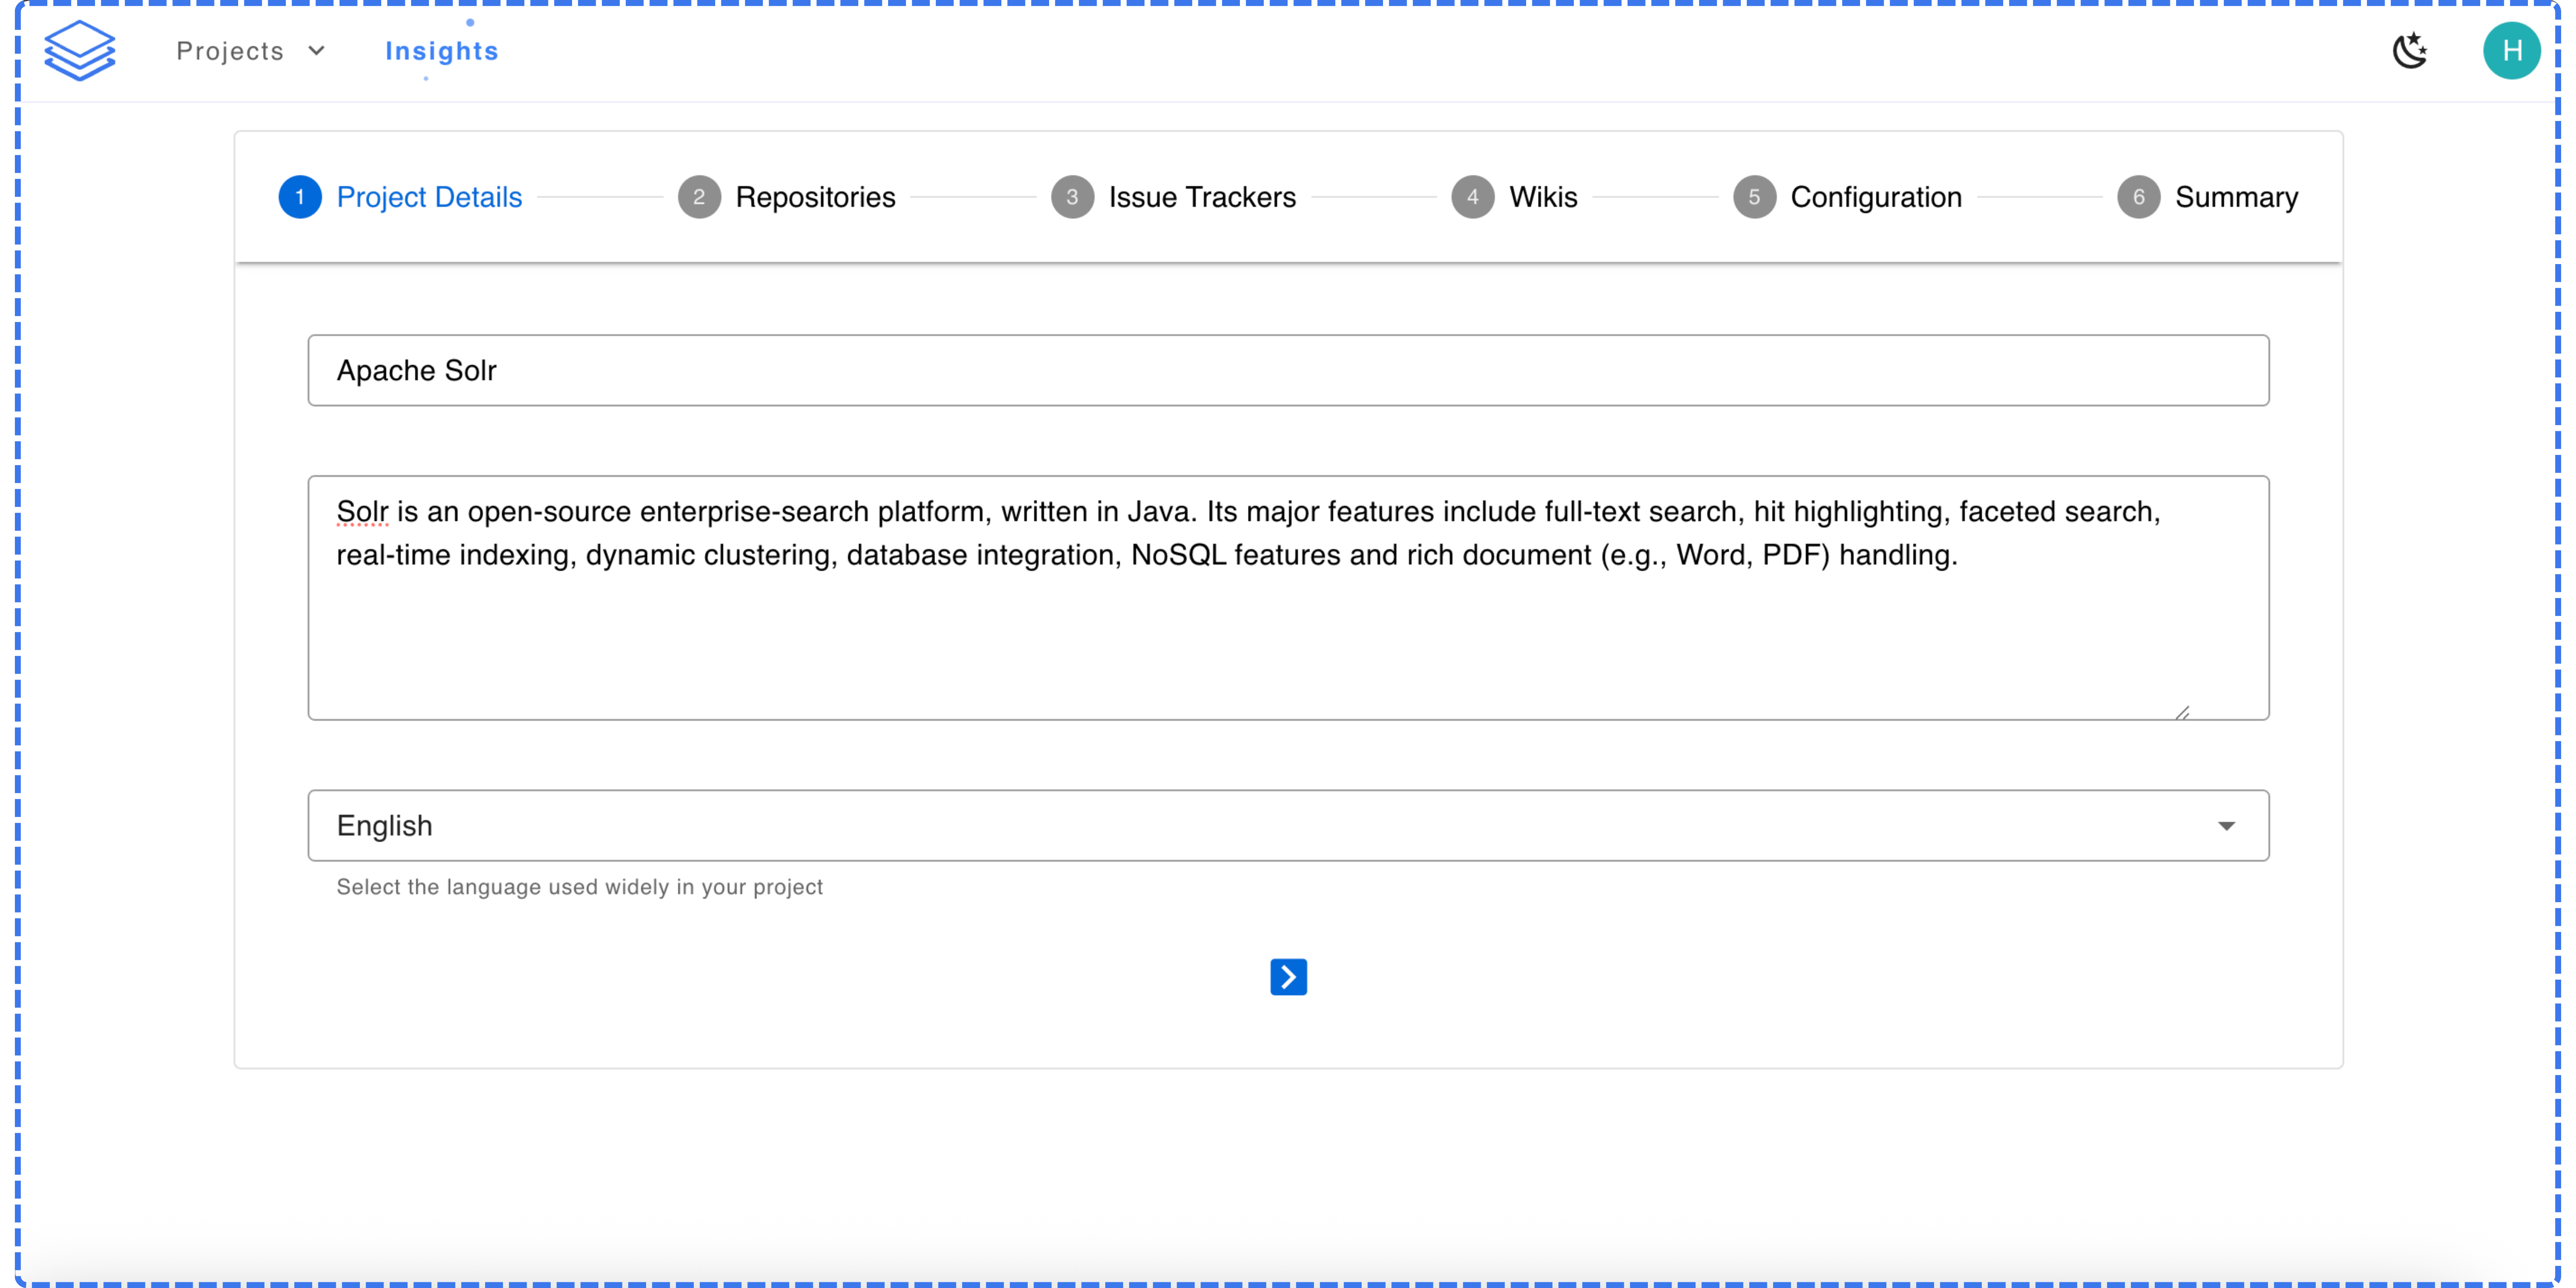
From the Stash home screen, click Create new project in the Quick Actions panel. This will launch the Project Creation Wizard, which will guide you through the setup step by step.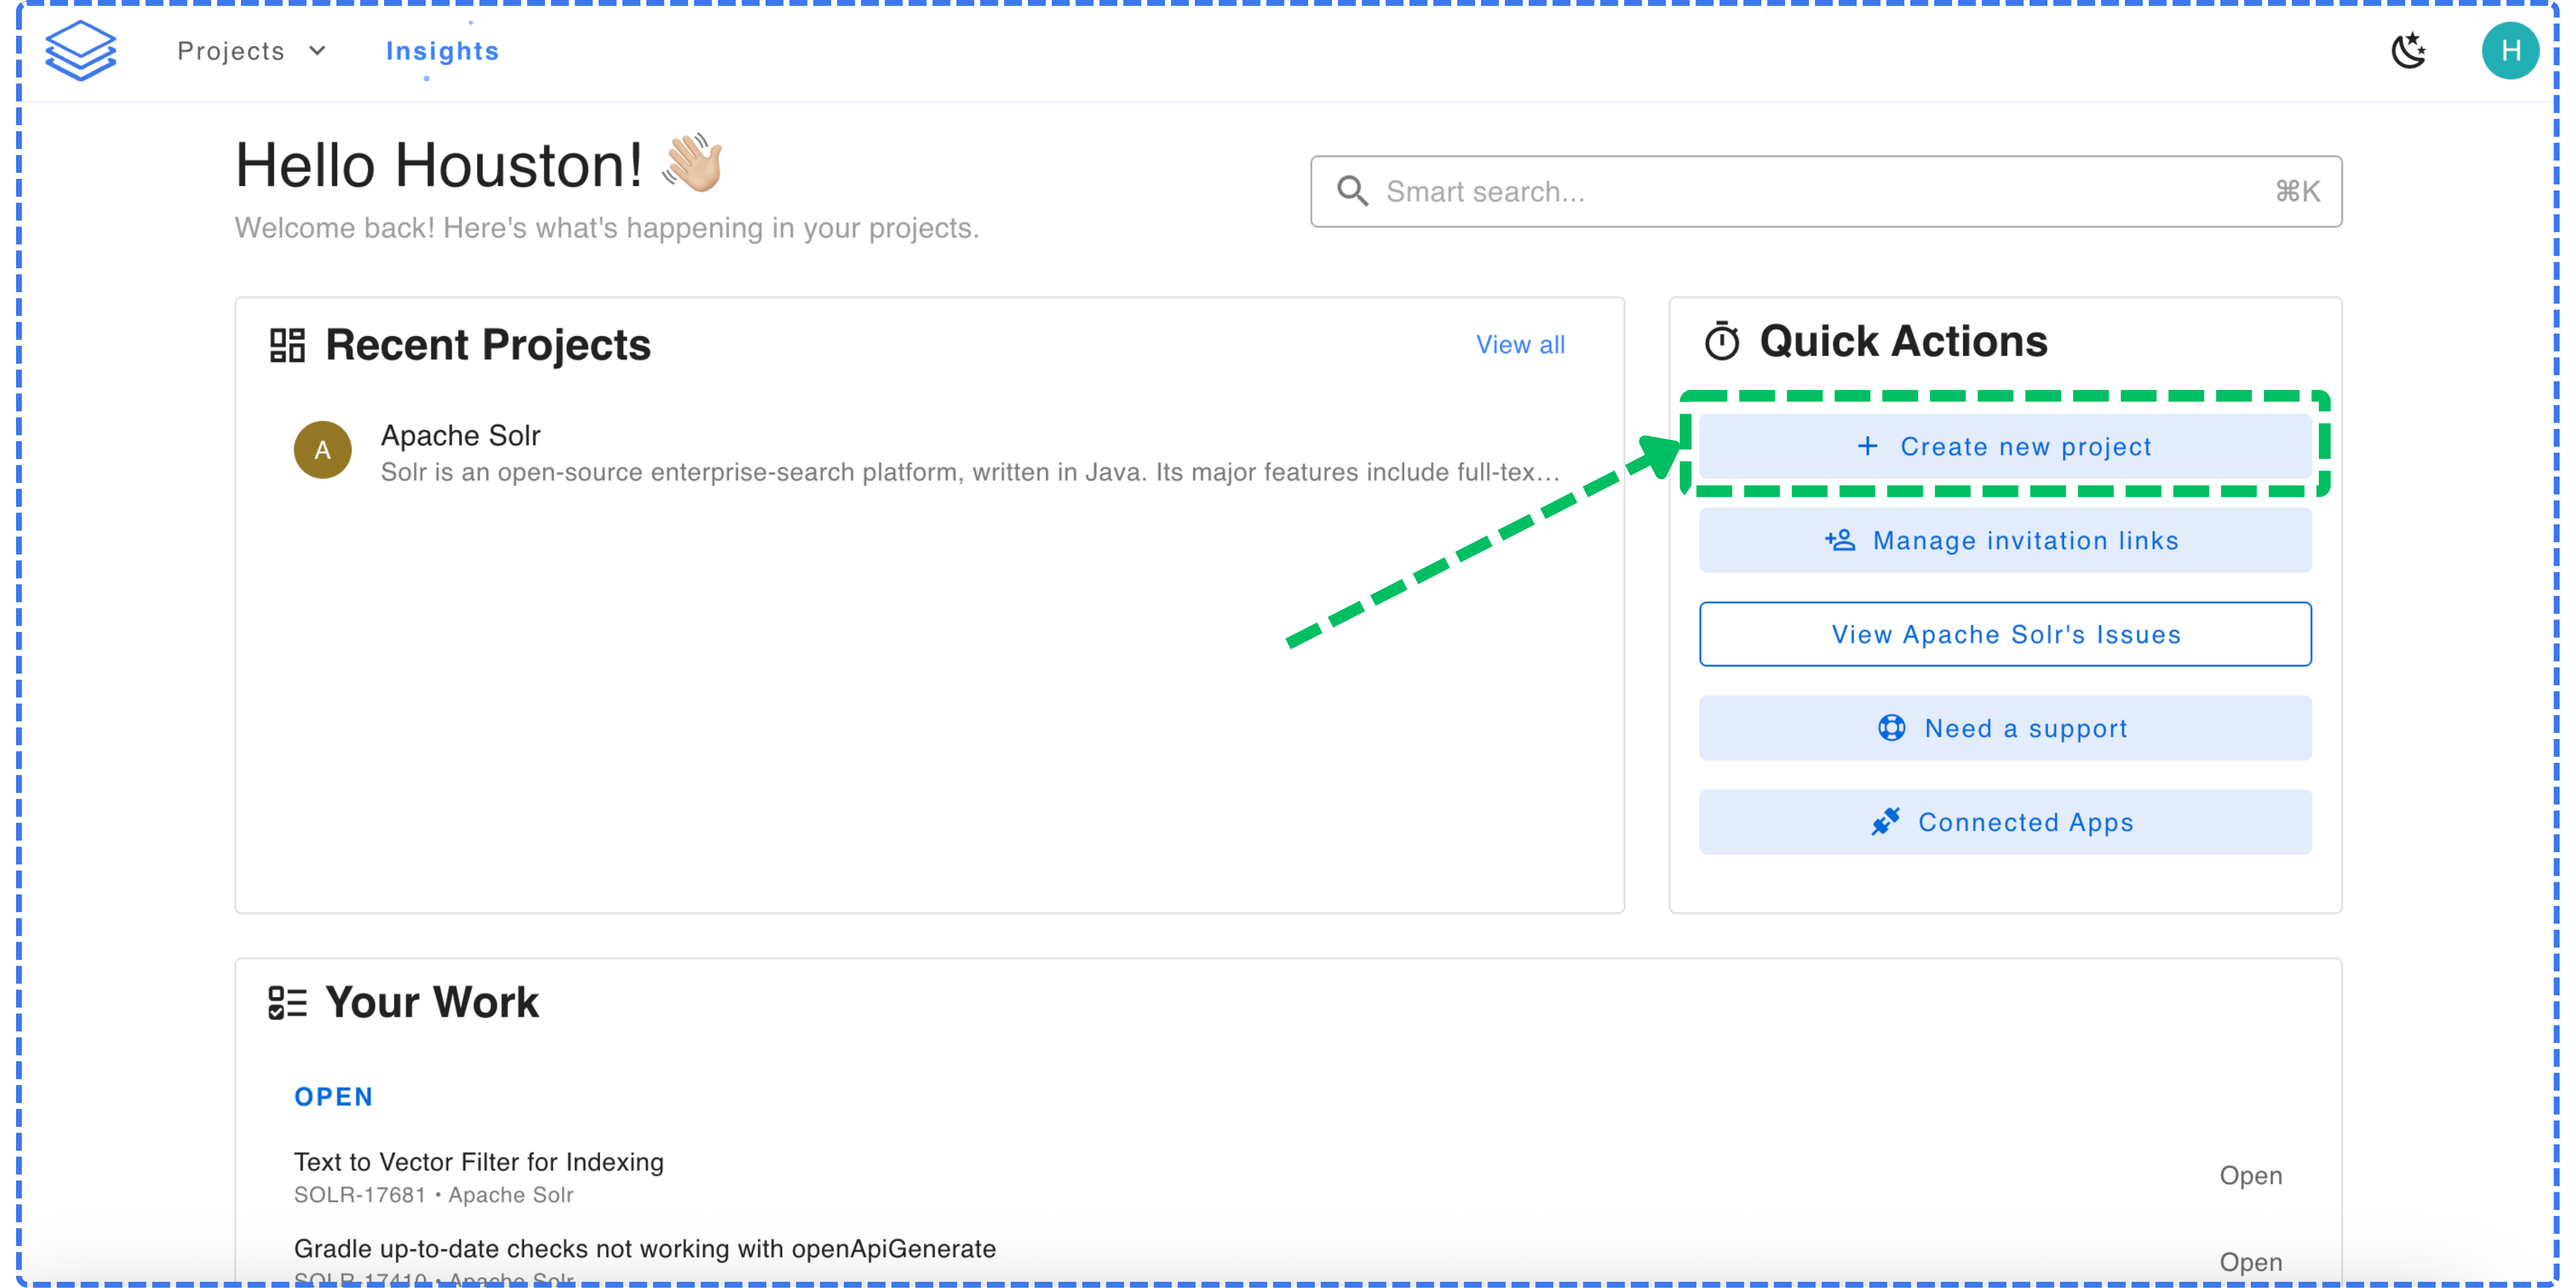
Connect repositories
Add the repositories you want to link to this project. Enter the repository details and click Validate. Once validated, select the branch you want Stash to analyze.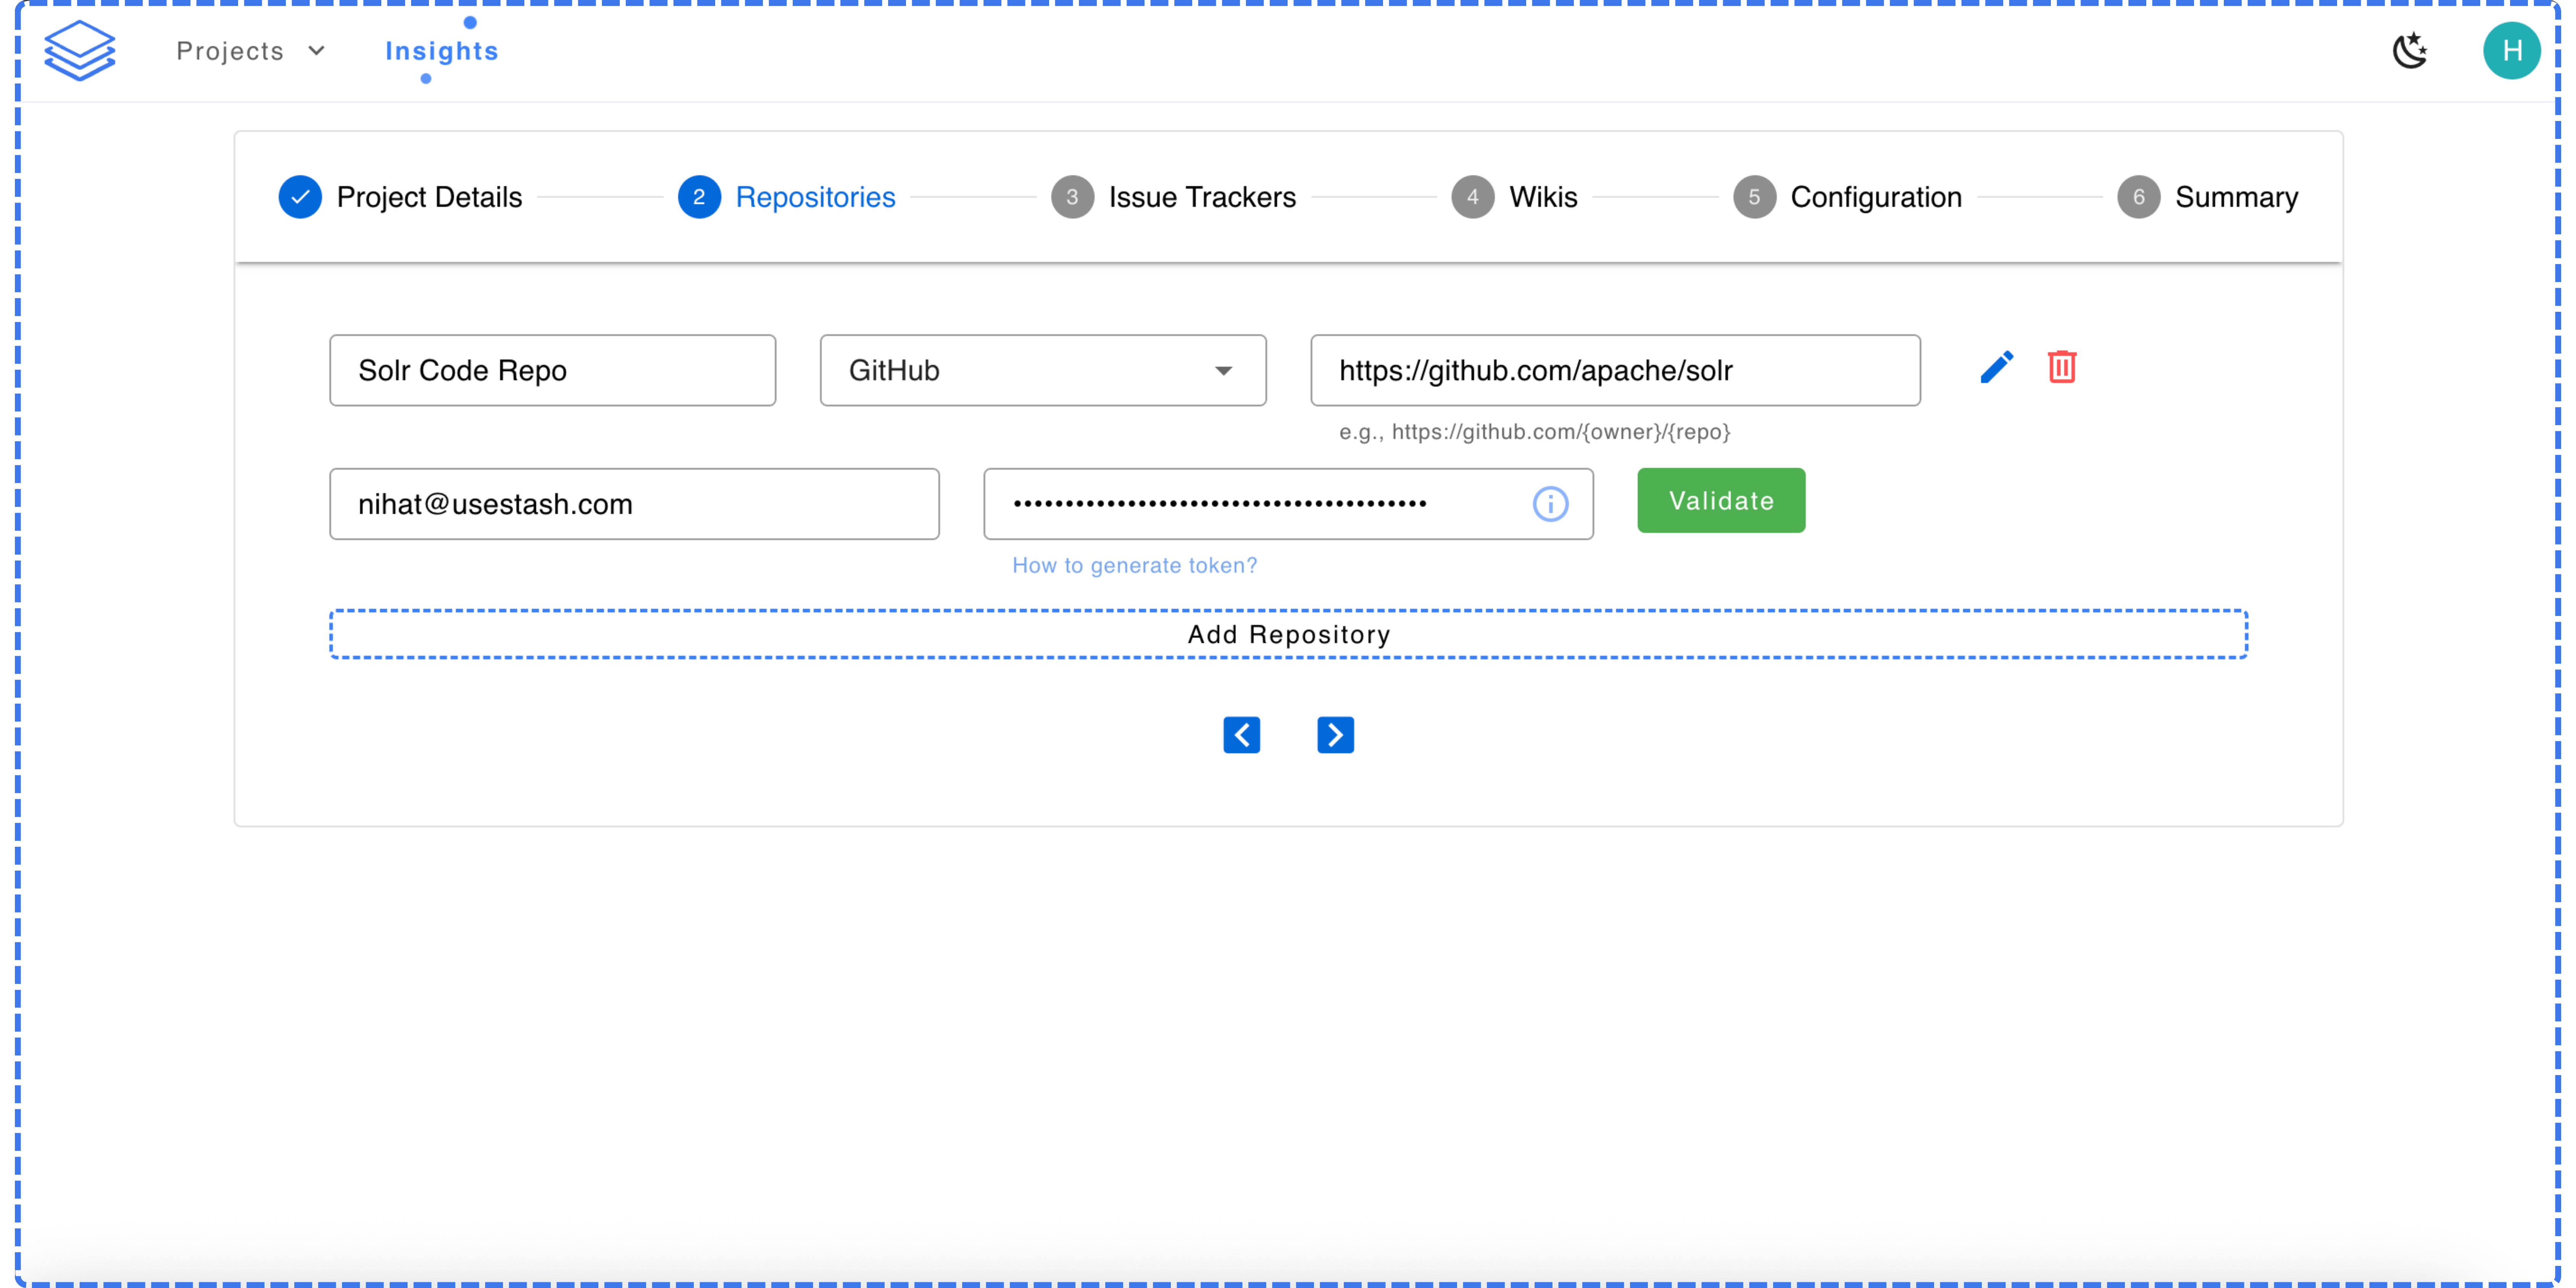
Connect issue trackers
Next, add any issue trackers you want linked to this project, such as Jira, GitHub Issues, or GitLab Issues. Select the tracker type, enter the required details, and click Validate.
Connect wikis
If your project uses a wiki or documentation space, such as Confluence, you can connect it at this step. Enter the required details, click Validate.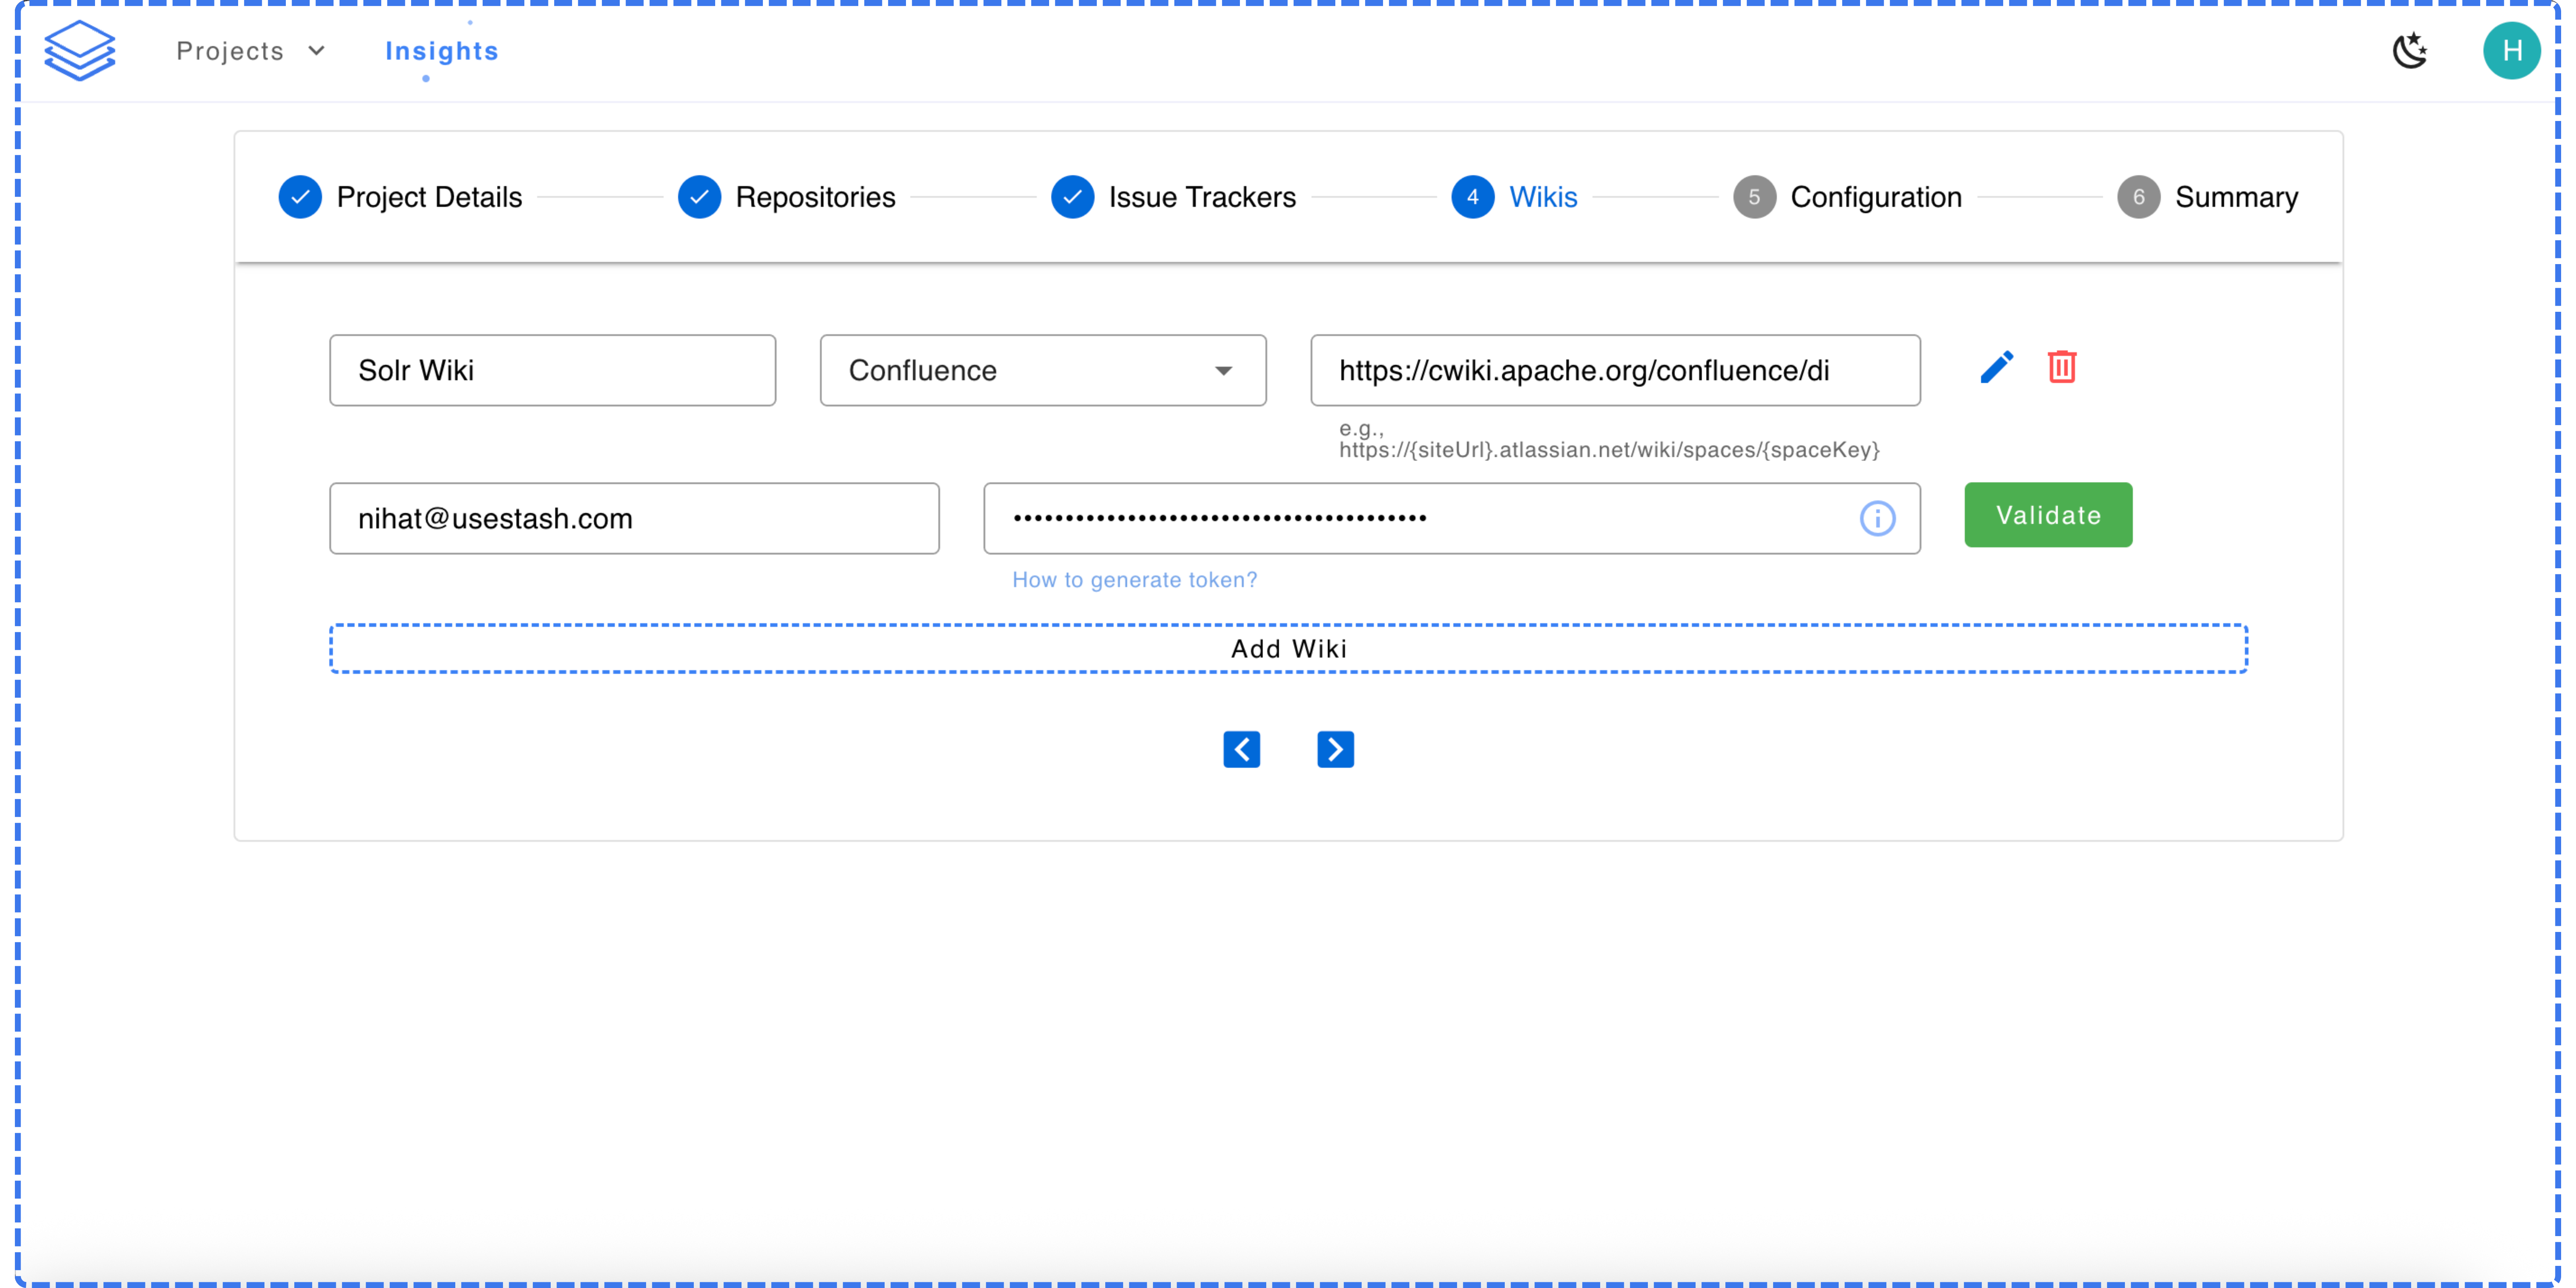
Configure project settings
If your issue trackers already work with Stash’s default settings, you can skip this step. Otherwise, use the configuration options to adjust how issues and labels are handled.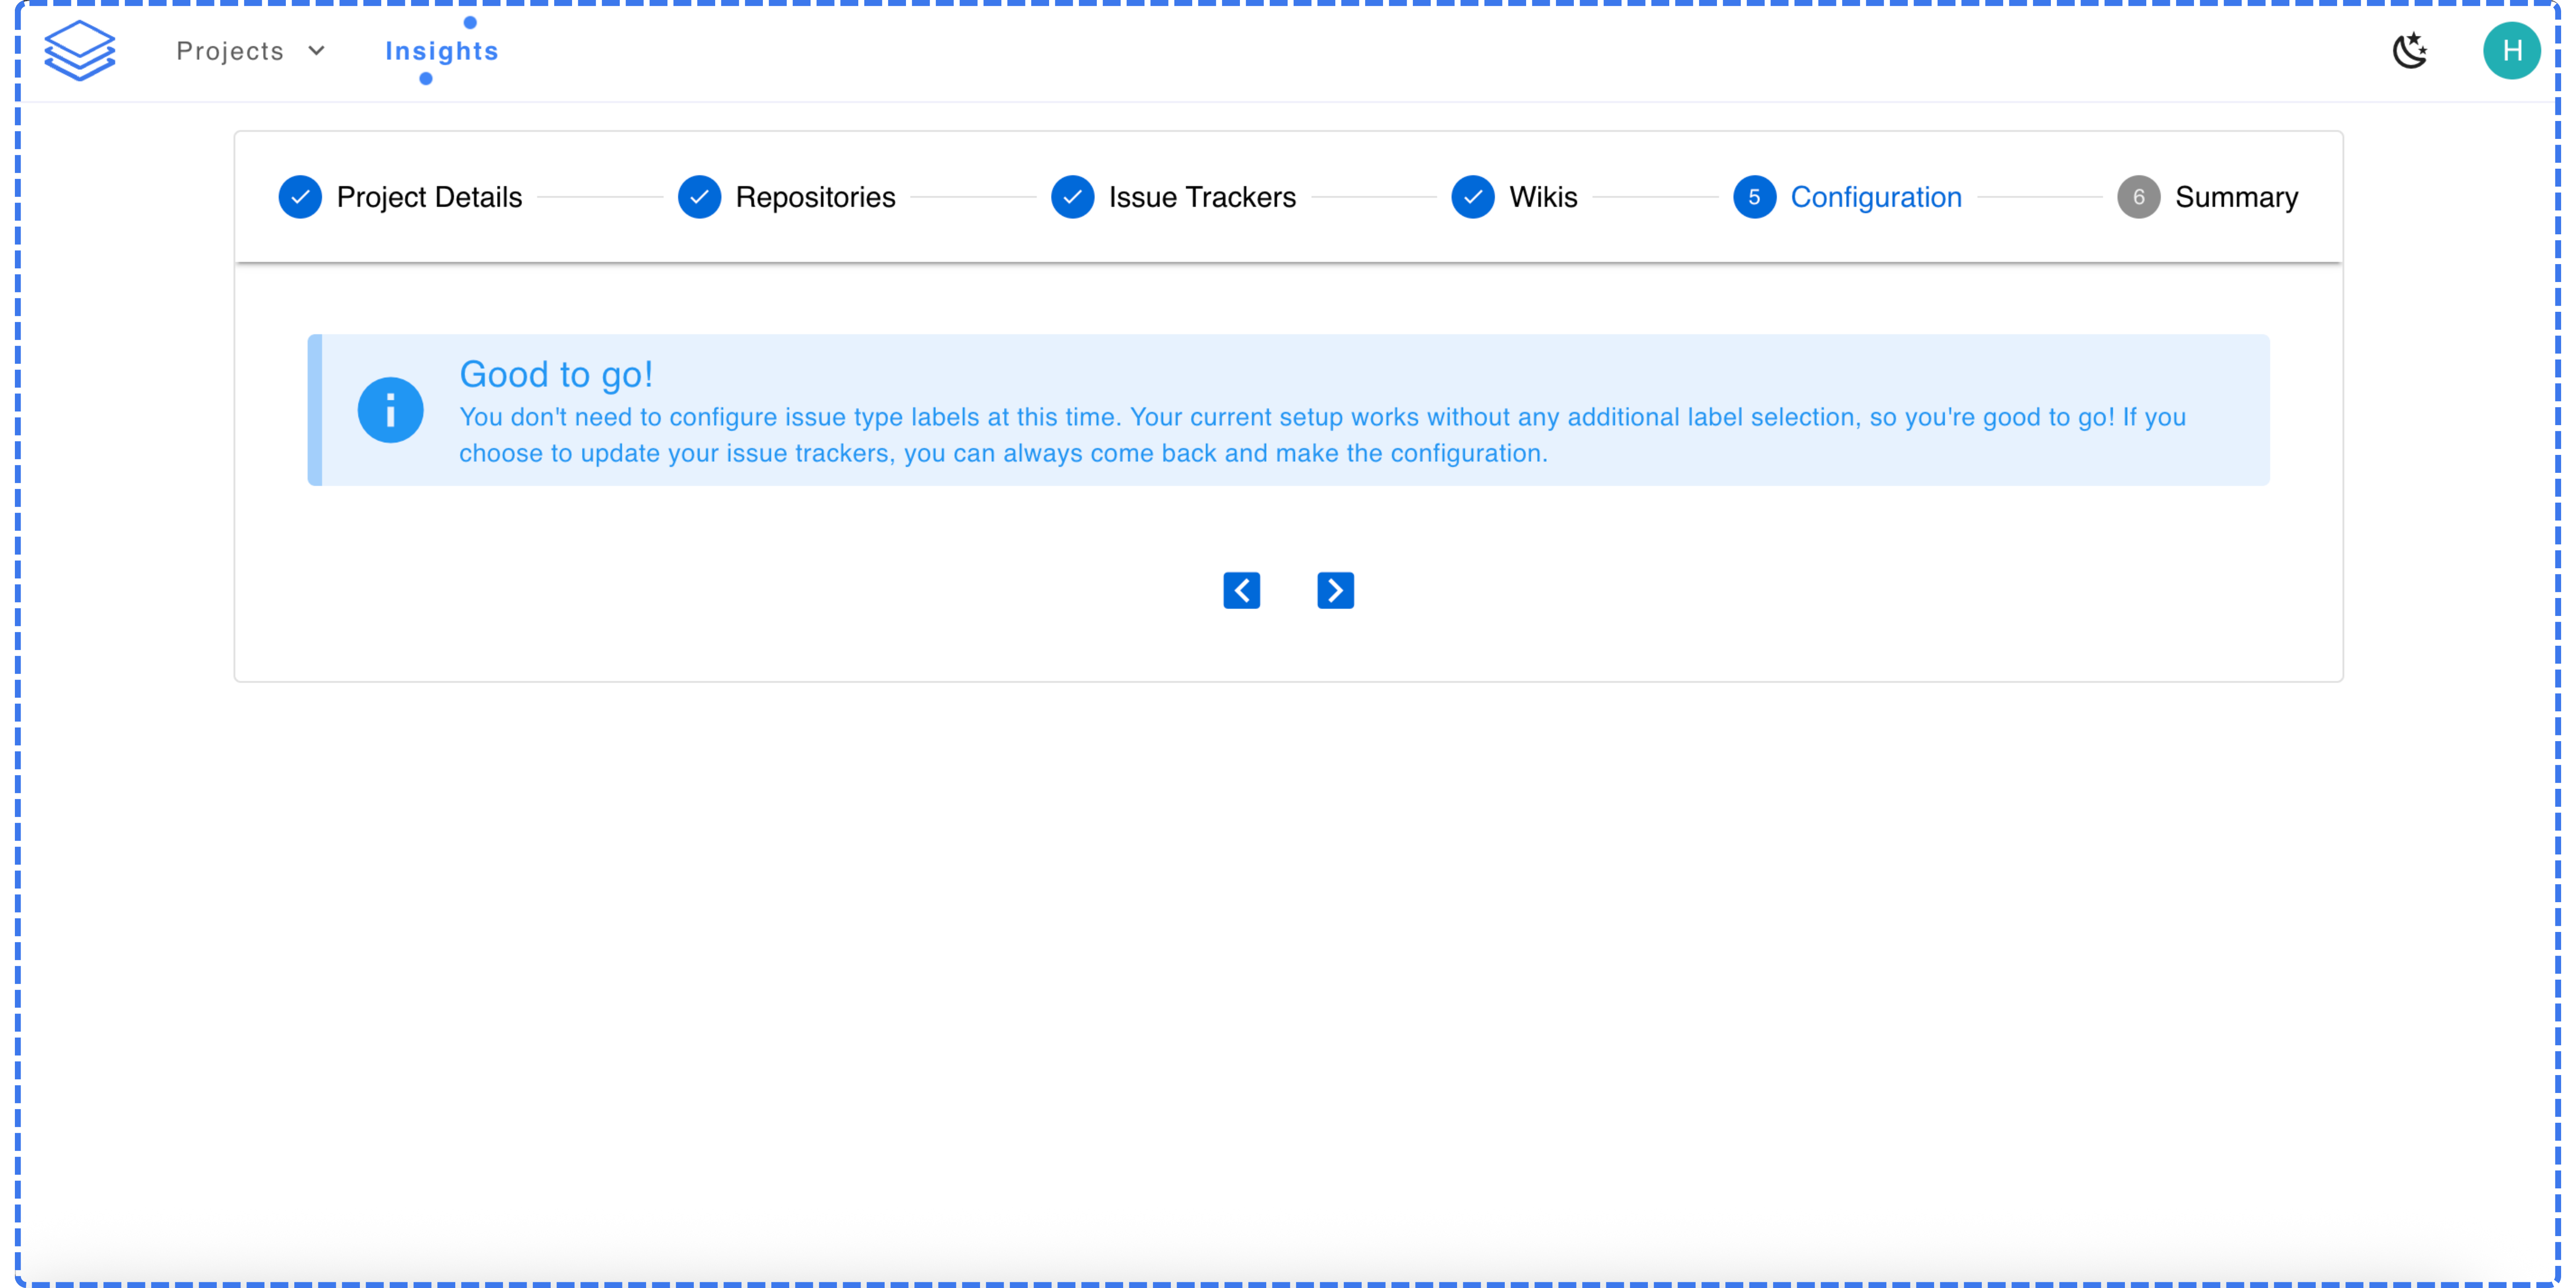
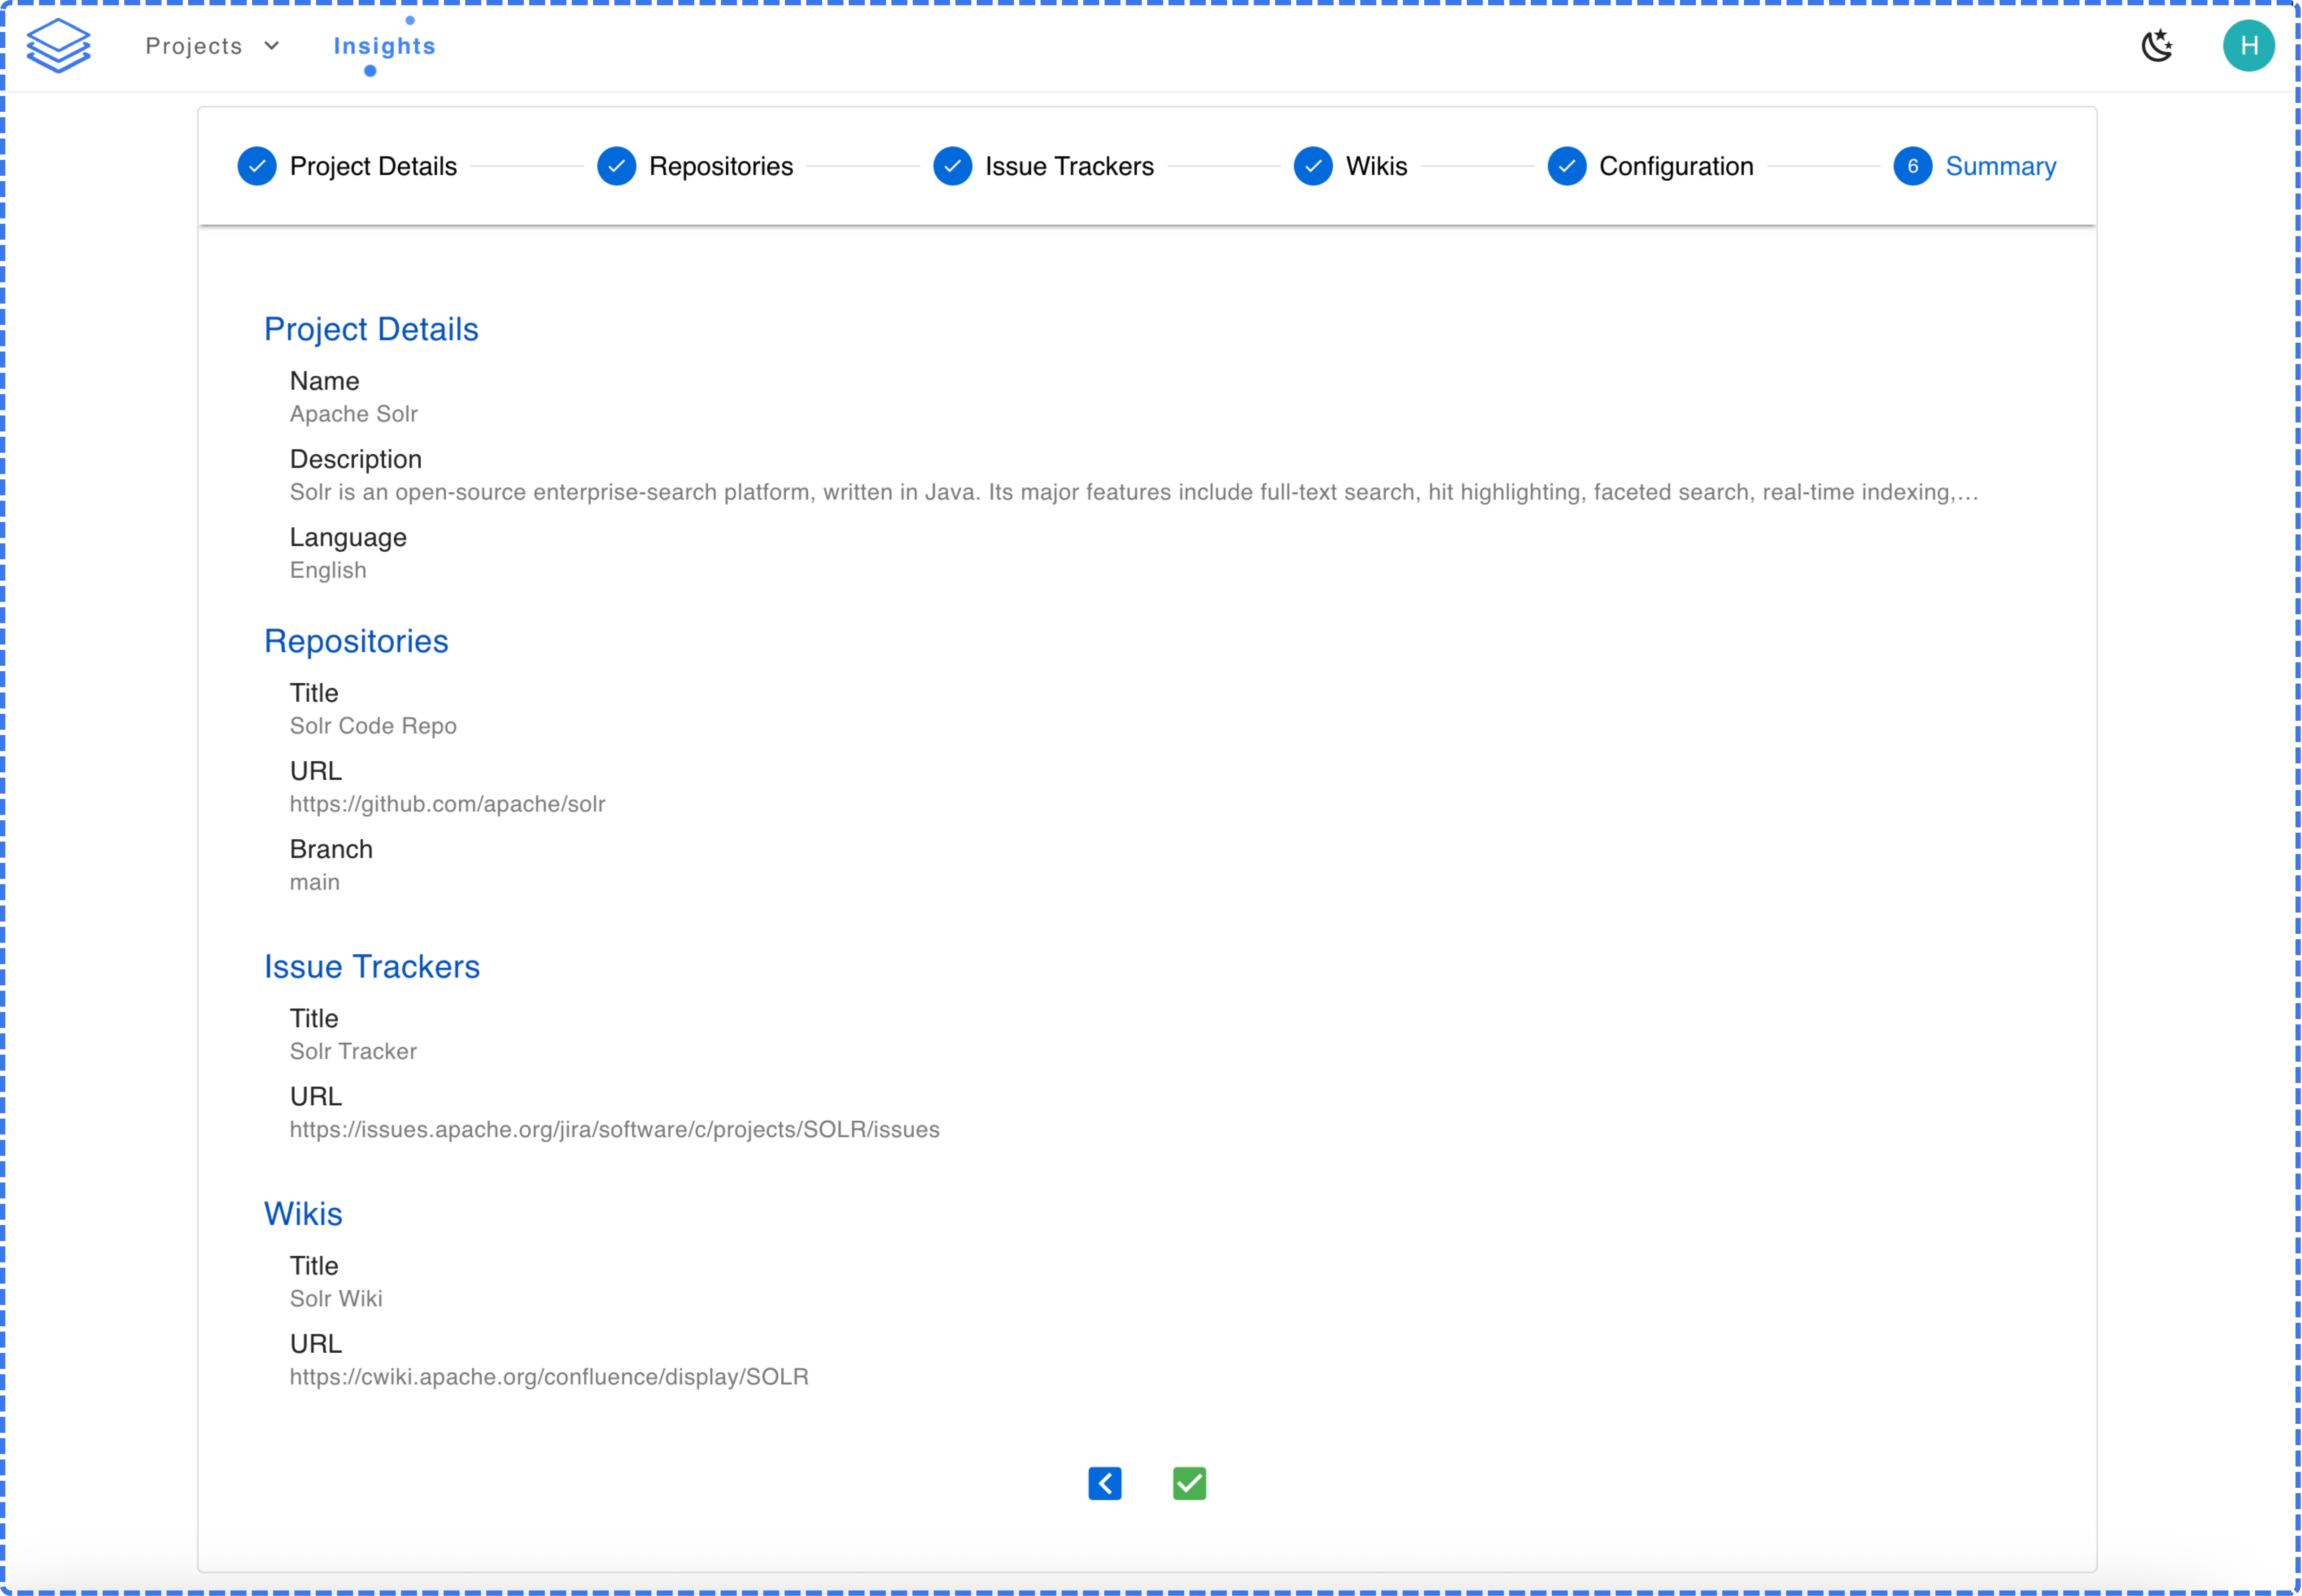
Review and finish
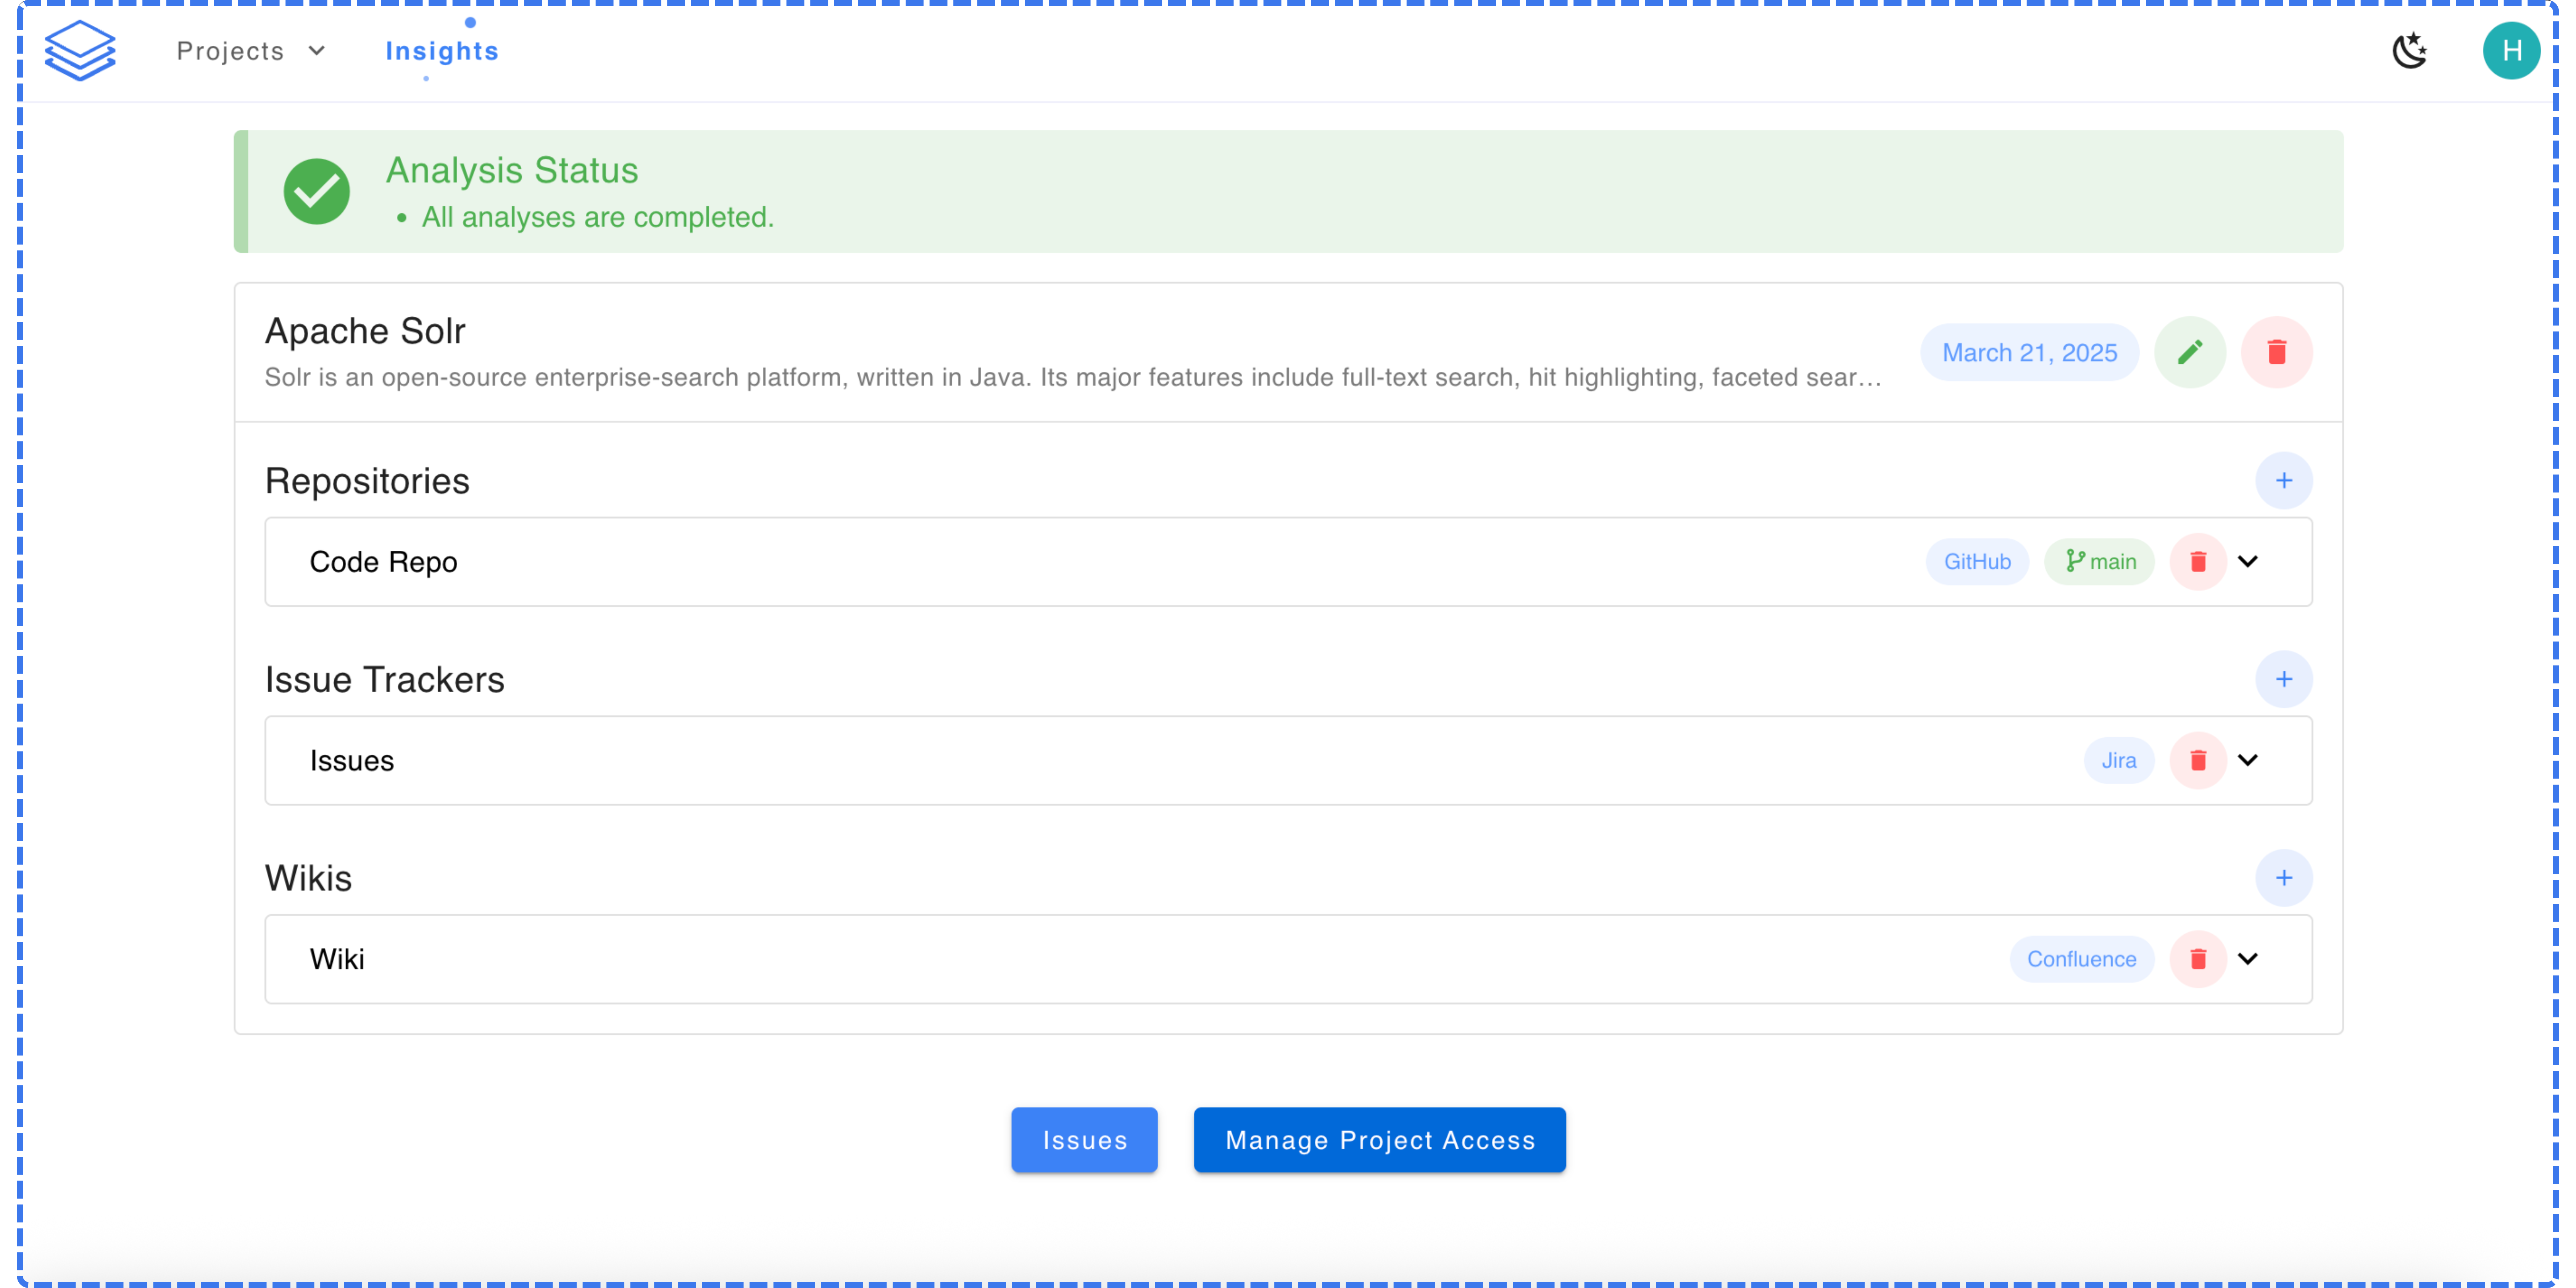
The summary screen shows all the repositories, issue trackers, and wikis you’ve connected. Review the information and click the confirmation button to create the project.